
Oct 9, 2026Journal
From Drawing to Store Shelf: A 7-Step ODM Walkthrough
From drawing to store shelf: the seven steps of an ODM garden lighting project, and what each step asks of the brand and the partner.
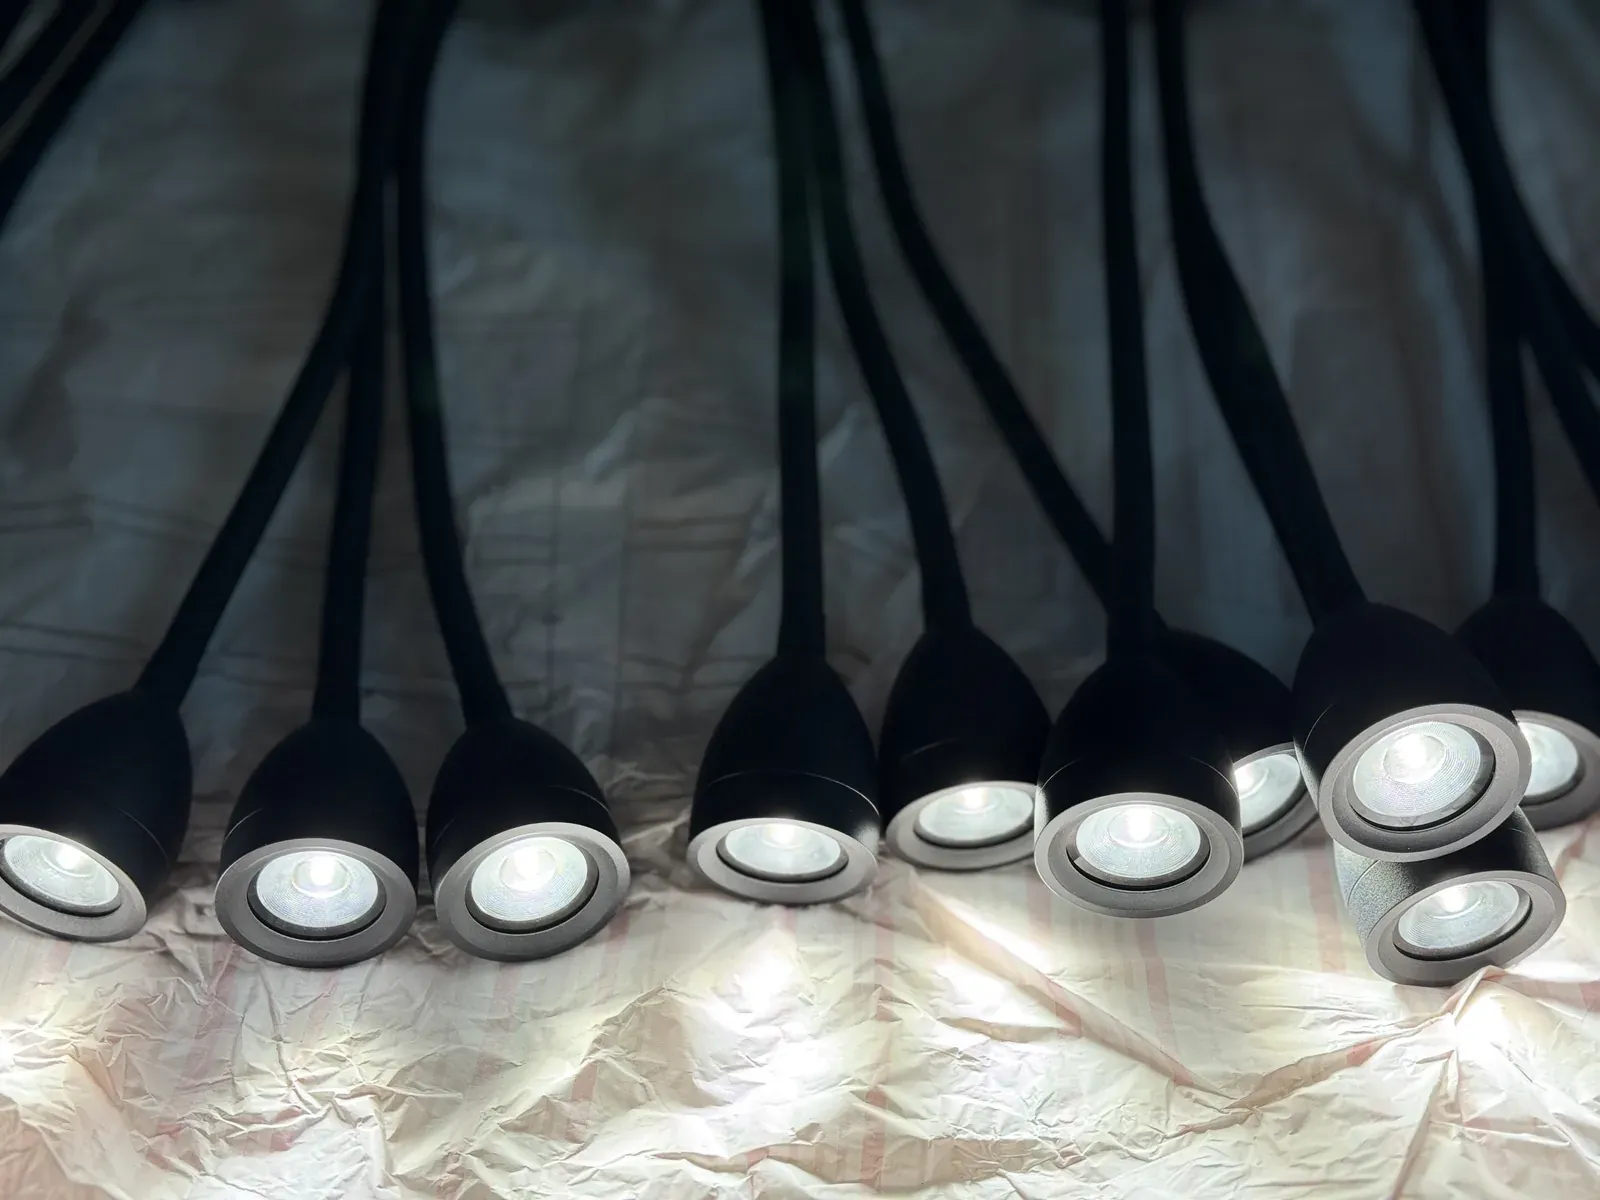
Most garden lighting projects that run late did not start late. They started with a skipped step — a sample approved before the seal was checked, certification scheduled after tooling, packaging decided the week before loading. The seven steps of a structured ODM project exist because each one closes a specific risk. Here they are, in order, with what each asks of you and what it hands back.
Step 1 — Design
Everything begins with four inputs: your design reference (a sketch, a drawing, photos of what you have in mind), the technical parameters (wattage, CCT, IP rating, dimensions, voltage platform), a target budget and an estimated volume. From these, the project gets a technical drawing set — industrial design coordinated in-house, structure and tolerances decided, German-standard documentation started from day one.
What you provide: the four inputs, and a single decision-maker on your side. What you get back: a drawing set you can sign off, and an early answer on feasibility — including an honest "this will not work at this price".
The format follows what our 2026 ranges publish per model: a dimension table (A/B/C), the light-source options, the IP rating and colour-temperature range, and the line drawings installers and certification labs work from. If a development partner cannot show you that page for their existing products, do not expect a better one for yours.
Step 2 — Sampling
First samples exist for one reason: touch and feel. Light distribution, the weight of the casting, the click of the gasket, the finish under your hand. A well-structured project budgets for one or two sampling rounds as normal, not as failures.
In parallel, certification planning starts: CE documentation for Europe, the RCM pathway for Australia. Lab coordination is part of the project calendar from this step — certification and lab fees are customarily borne by the client.
What you provide: feedback with dates — a sample sitting on a desk is a project standing still. What you get back: refined samples, and a certification plan mapped to your target markets.
Step 3 — Tooling
Two structures live here. A private mould is built for your brand: customer-funded, customer-owned, exclusive — it cannot be sold to other buyers. Modified tooling reuses an existing mould — a new finish, a different height, another light source — which cuts both tooling cost and lead time.
Die-cast tooling typically takes 30 to 45 days. In a well-run project, that window overlaps with certification paperwork and packaging development, not empty waiting.
What you provide: the tooling decision (private or modified), with the pilot order attached. What you get back: tooling drawings, trial shots, and a mould that belongs to your project.
Step 4 — Mass Production
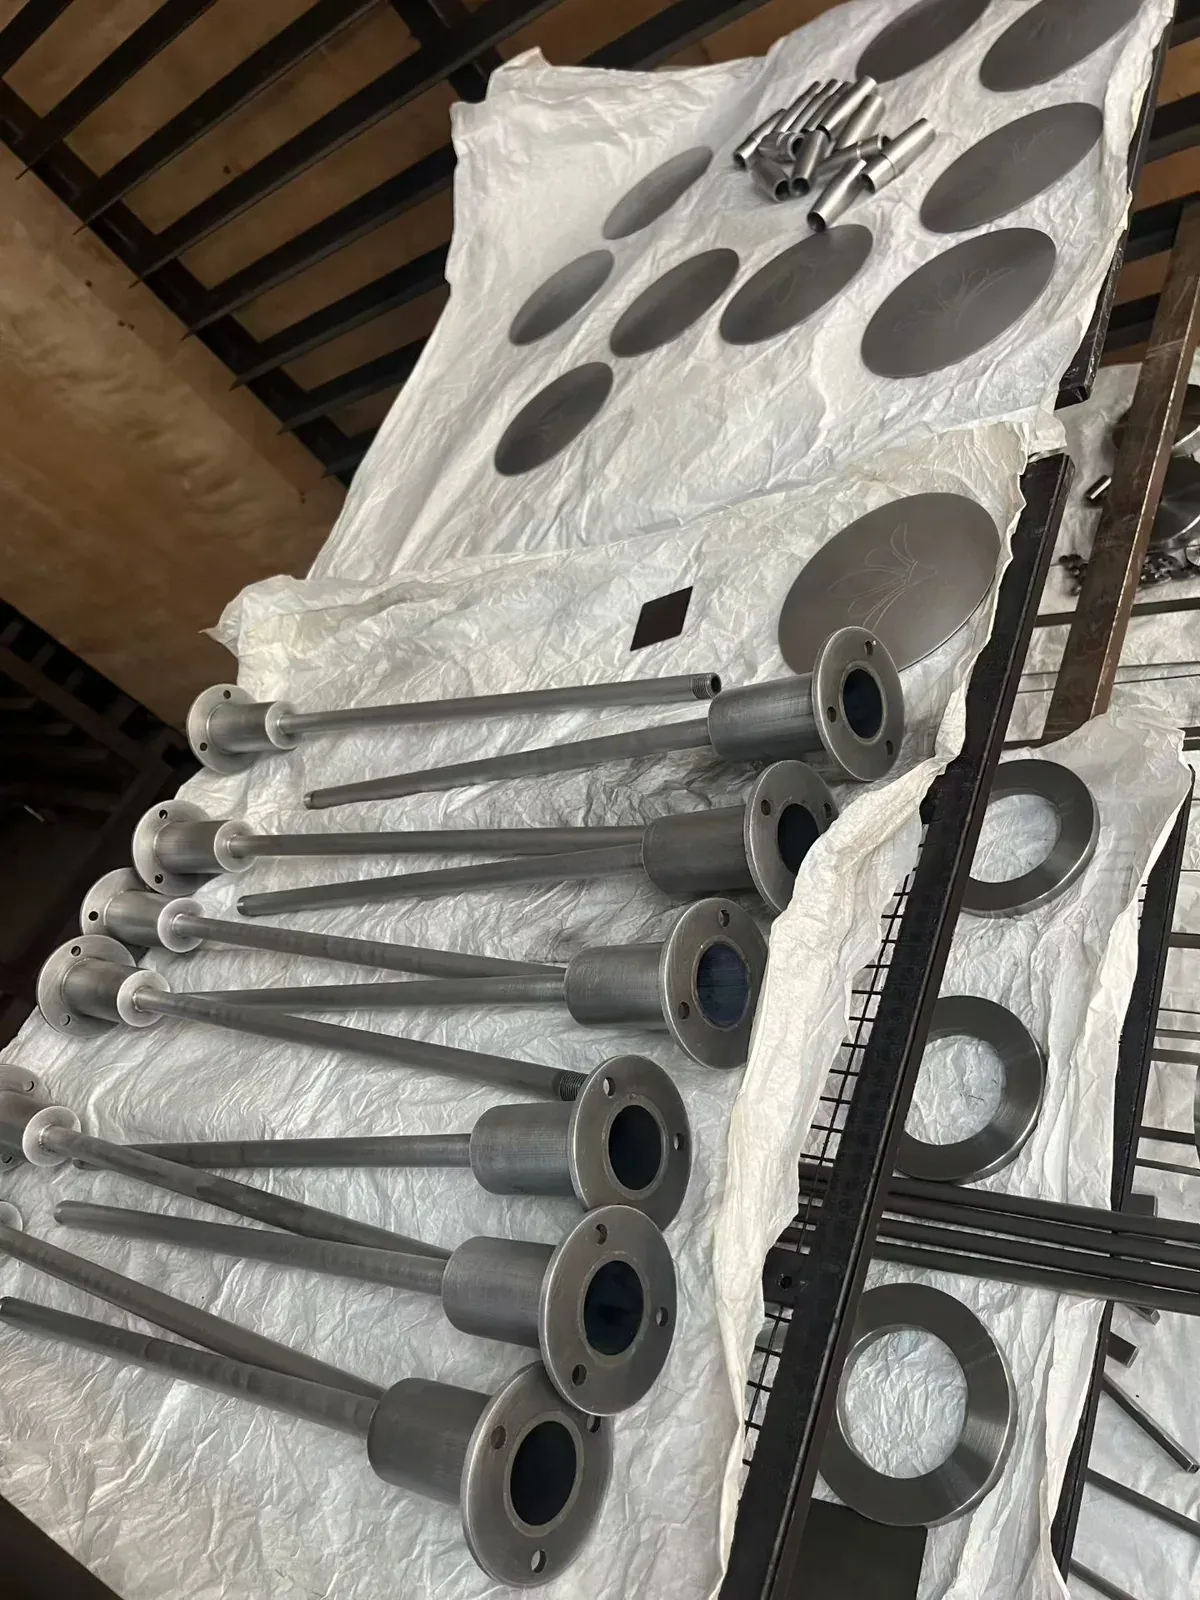
Pilot first, then volume. A pilot run in the 100–200 pcs per SKU range validates production tooling, gaskets, finish consistency and packing before a full-season commitment. Sourcing and production guidance — LED and driver supply, coating lines, assembly — sit with the partner's team throughout.
What you provide: the volume plan, and any packaging artwork the pilot should carry. What you get back: reliable product off real production lines — and the confidence to scale the models that sell.
Step 5 — Inspection
Pre-shipment inspection on every order: units lit and checked, finish and sealing verified, quantities and accessories confirmed, with photo and measurement reports landing in your inbox before the container is sealed.
What you provide: your AQL expectations, once. What you get back: evidence, not assurances — a documented final check you can file.
Step 6 — Freight
Export packing supervision — foam that fits, sealed accessory bags, foil-wrapped posts — and container loading supervision, then freight coordination to your port or warehouse. The detail here is unglamorous and decisive: transit damage is the quiet killer of garden lighting programmes.
What you provide: your delivery terms and destination. What you get back: product that arrives in the condition it left the line, with loading photos to prove how it travelled.
Step 7 — Shelf Support
The step most suppliers don't have. The container arriving is the midpoint, not the finish: the range needs a selection story (which model does which job), scene visuals, selling-point cards per model, and enablement for your sales team — so the line doesn't just arrive, it sells.
What you provide: your launch date and channel plan. What you get back: the product-side ammunition for your launch — the facts, the hierarchy and the assets your team sells with.
Why the Order Matters
Each step protects the next. Certification runs beside sampling so the launch date never belongs to a laboratory queue. Packaging is decided at design time so it never delays loading. The pilot precedes volume so quality surprises happen at 200 pieces, not 2,000. Followed in order, the project is a production schedule; followed out of order, it is a series of emergencies.
FAQ
How long does an ODM garden lighting project take? It depends on three tracks running in parallel: design rounds, tooling (die-cast tooling typically 30–45 days) and certification timing for your markets. Projects do not fail because the tracks are long — they fail when the tracks are run in sequence instead of in parallel.
What do I need to start a project? Four things: design reference, technical parameters, target budget and estimated volume. With these, a partner can give a real feasibility view — usually within a couple of working days.
What do I own at the end of the project? In a private-mould project: the mould, and a complete technical file — drawings, bill of materials, photometric data and the test reports behind the declared ratings. That file is the asset that travels with the product through certification, installation and after-sales.
Have a garden lighting line in mind? Send us the four inputs and we will reply with a feasibility view — including the step we would start from. [Start a project](https://www.noorarchlighting.com/contact)
New here? [Browse the collection](https://www.noorarchlighting.com/products?category=wall-lights) to see the output of the process across wall lights, bollards, spike spots, inground uplights and solar.